Removing a transmission isn’t as scary as you think. Don’t let intricate parts deter you from this task. In this case, removing an automatic transmission requires important procedures. Take things step by step as you discover how to remove a transmission properly with this guide!
Manual vs. Automatic Removal: Is There a Difference?
The key difference between a manual and automatic transmission is the manual unit requires the driver to use the clutch to accelerate the vehicle. In contrast, an automatic transmission changes gears on its own (without driver interference). Today, people are familiar with automatic units because they’re inside modern cars.
In terms of transmission removal, you want to distinguish the specific processes. Since automatic transmissions are technologically advanced, the unit is more intricate than a manual one. To avoid hindering your vehicle, it’s best to follow detailed steps. In this guide, we focus on automatic transmission removal and the steps to navigate this process.
Helpful Tools To Have on Hand
The bulk of transmission removal is disconnecting wires and removing nuts and bolts. To make this process easier, you should have some tools on hand. Before starting, here’s a list of beneficial things to keep handy:
- Tube wrench
- Jack stands (two are necessary, but four are preferred)
- Hydraulic jack
- Container (to hold nuts and bolts)
- Screwdriver
- Breaker bar
- Pry bar
- An assistant (to help lift the transmission)
Safety First
Before popping the hood and removing parts, safety is essential! This project requires you to park your vehicle on a flat surface. Parking on hills and slopes puts your car at risk of rolling downhill. Furthermore, ensure the car is off because you need to disconnect wires and batteries. Failure to do so can lead to electrical injuries.
Removing the transmission in a well-lit area is best to see car parts easily. For extra illumination, consider grabbing a flashlight! As previously mentioned, it’s also a good idea to grab an assistant (especially for lifting the automatic transmission).
You can begin the removal procedures after establishing the right location and obtaining the right tools.
Steps for Proper Automatic Removal
With the right preparation and space, you can remove the unit within a suitable timeframe. Luckily, we’re to assist you! Learn how to remove an automatic transmission properly with this helpful guide.
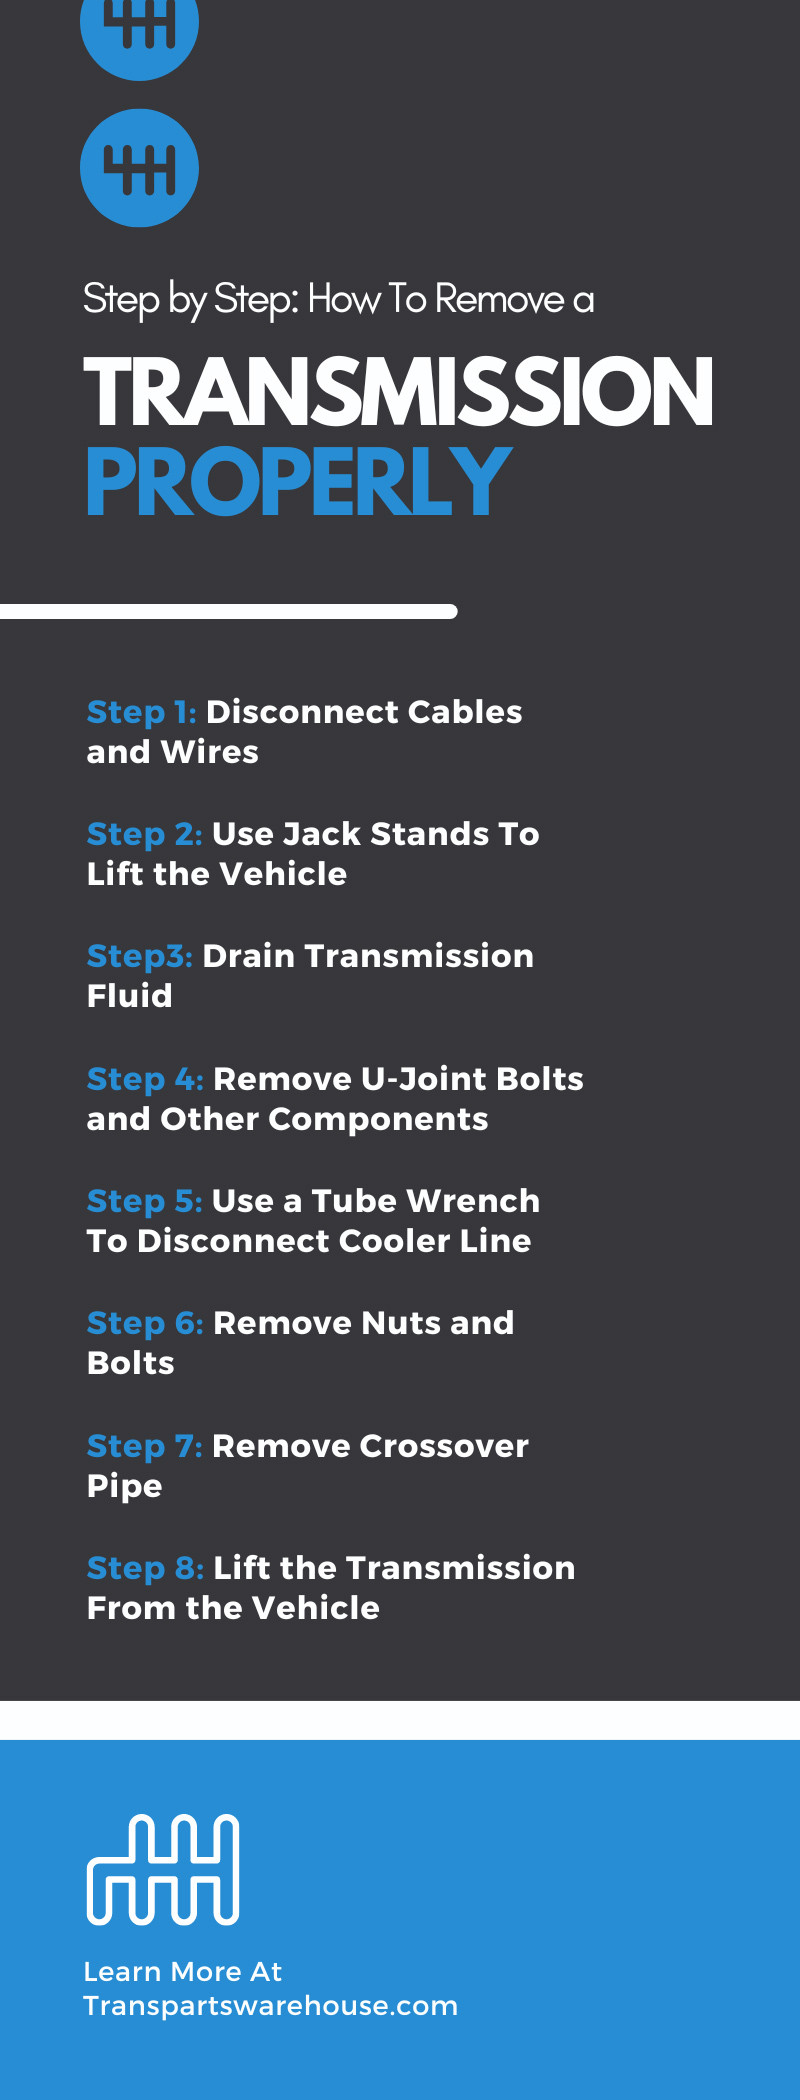
Step 1: Disconnect Cables and Wires
After opening the hood, remove the negative battery cable from the battery post. Additionally, detach the fluid dipstick and dipstick tube by unscrewing the bolts connecting them to the transmission.
Disengage the electrical connectors, and detach the cables, hoses, and brackets that connect to the transmission. You should also find the starter motor, remove the starter bolts, then remove the bell housing.
Find the spot where the automatic transmission bell housing attaches to the engine. You’ll likely find this at the top rear of the engine (by the firewall). Remove the bolts connecting the top bell housing to the engine.
Place all the nuts and bolts in a labeled container that distinguishes the parts. This will help you with transmission reinstallation.
Step 2: Use Jack Stands To Lift the Vehicle
Now it’s time to raise your vehicle. Use two jack stands to lift the front. For additional support, use two more jack stands to raise the vehicle’s rear. The extra support helps you access the vehicle’s undercarriage. Ensure there is enough space to slide underneath the car. If not, adjust the stands.
Step3: Drain Transmission Fluid
Move to the rear end of the transmission and put down your drain pan. Then, take off all transmission pan bolts except for the bolts at one end of the pan. Loosen them to create a slope. This allows the fluid to reach the drain pan. When all the fluid flows out, reattach the pan bolts.
Step 4: Remove U-Joint Bolts and Other Components
To remove the U-joint bolts, you must hold the driveshaft to the rear differential and grab a screwdriver to remove the driveshaft from the unit. Set the driveshaft aside, and disconnect connectors and wires that obstruct automatic transmission removal. Essentially, remove hoses and wires in the transmission’s way.
Step 5: Use a Tube Wrench To Disconnect Cooler Line
After removing the interfering wires and connectors, it’s time to detach the cooler line. Grab a tube wrench to disconnect them. The tool comes in handy because it prevents damage to the lines, which may happen if you pull them with your hands.
Step 6: Remove Nuts and Bolts
This step requires removing the bolts that secure the torque converter to the flywheel. Find the inspection plate at the bottom of the bell housing. Next, remove the nuts and bolts inside the unit. Rotate the engine using a breaker bar and pry bar to remove bolts properly. Removing all the bolts is critical to preventing items from hanging on the flywheel.
Next, put a hydraulic jack under the transmission pan and raise it (to let the transmission rest on the jack). Now, remove the mount nuts and bolts to isolate the transmission from the cross member. Lastly, remove all bell housing bolts except one of the bottom bolts.
Step 7: Remove Crossover Pipe
For vehicles without dual exhausts, you’ll need to detach the crossover pipe. This part connects the left and right sides of the exhaust system to each other. Along with pipe removal, disconnect other areas of the exhaust system that stop you from separating the automatic transmission from your engine.
Step 8: Lift the Transmission From the Vehicle
After removing components that interfere with the transmission, it’s time to remove the actual unit. Make sure you detach everything before lifting the transmission. For this step, lift the transmission with a partner as you move the hydraulic jack away from the engine (until the two parts separate). After disconnecting the units from each other, lower the hydraulic jack and carefully place it on the floor away from the vehicle.
Congratulations, you successfully removed an automatic transmission from your vehicle!
Get Help if Need Be
If you need support, call a professional to guide you through these steps. Don’t undergo this process until you understand the procedures. You don’t want to injure yourself or damage your vehicle by doing the wrong things!
Where To Get Transmission Parts
People remove their vehicle’s transmission to replace or repair the unit. To keep things on track, Transparts Warehouse has automatic transmission parts for sale that you can purchase from our website! Our awesome inventory includes all the essential transmission components. If you have any questions, don’t hesitate to contact us.