866-223-5656 *FREE SHIPPING* on Domestic orders over $100

Monthly Archives: November 2020

  1. Symptoms of a Failing Transfer Case

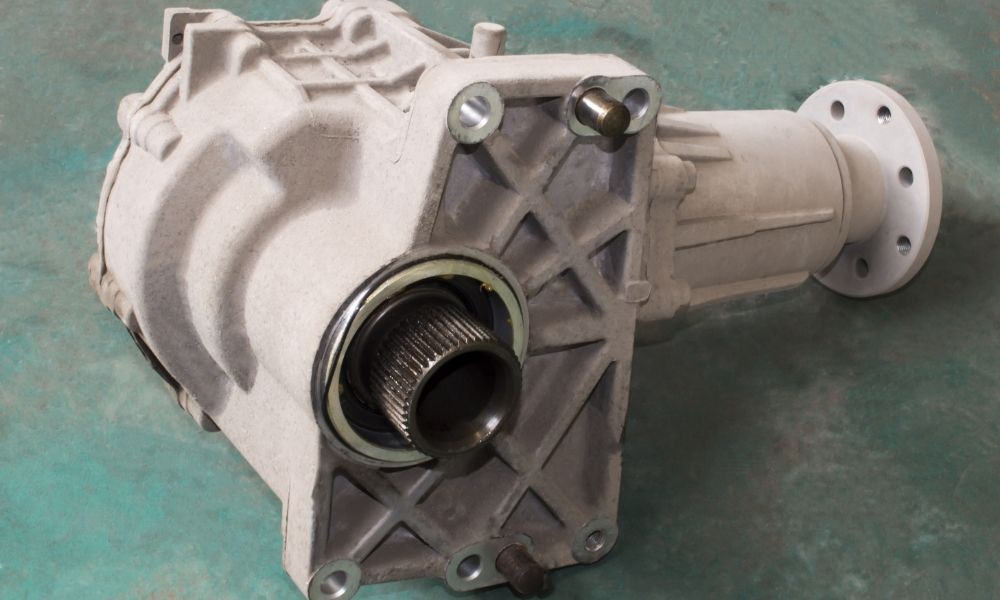
    A transfer case is an important part of a vehicle’s drivetrain. If a transfer case malfunctions, a multiple powered axle vehicle—such as a four-wheel-drive or all-wheel-drive vehicle—would not be able to transfer power from the transmission to the front and rear axles. As a result, the vehicle’s four-wheel or all-wheel drive operations would fail to work properly. In addition, a faulty transfer case could also cause damage to other vehicle components, such as the transmission. To ensure you can address any issues before additional vehicle damage occurs, take a look at these symptoms of a failing transfer case.

    Trouble Shifting Gears

    Problems shifting gears is a common sign of a malfunctioning transfer case. The transfer case and transmission both rely on the output shaft seal to prevent fluid from leaking out. If this seal breaks, a loss of fluid and pressure will occur within the transmission, which can make it difficult to switch gears properly. If you have problems shifting into higher or lower gears, get your vehicle checked for an internal transfer case failure.

    Popping In and Out of 4WD

    Another indication that your vehicle may have a transfer case failure is if it pops in and out of four-wheel-drive. When a vehicle jumps in and out of four-wheel-drive, it is often due to a loss of fluid. Such fluid loss can cause the components inside the transfer case to wear out and break prematurely, which will prevent the vehicle from staying in or out of four-wheel-drive as it is supposed to.

    Pooling Fluid Under Transfer Case

    If reddish fluid begins to pool directly under the transfer case, there is most likely a problem with the transfer case itself, such as a broken seal or gasket. To determine if a leak is coming from your transfer case, jack up your car and inspect it visually. In most models, the transfer case is located at the rear end of the transmission or transaxle assembly. If you notice a leak, make sure to addr

    Read more
  2. Automatic Transmission Removal Guide

    Replacing or rebuilding an automatic transmission can be quite expensive. If you’re looking for a way to significantly reduce the cost, consider removing and replacing it on your own. While removing an automatic transmission isn’t the most difficult task, it does require a fair amount of preparation in order to pull off successfully. While the removal process will vary depending on the make and model of the vehicle, the general process is fairly universal. To learn how to safely remove your vehicle’s transmission, take a look at this easy-to-follow automatic transmission removal guide.

    Step 1: Start Under the Hood

    The first step in removing your vehicle’s automatic transmission is to park your vehicle on a flat concrete surface in a safe space and set the parking brake. Then, open the hood and remove the negative battery cable and move the end of it away from the battery post. In addition, remove the transmission fluid dipstick as well as the dipstick tube by unscrewing the single nut or bolt which attaches it to the transmission. If the dipstick tube is not easily accessible from under the hood, you can remove it from underneath the vehicle later.

    You will also need to disconnect all transmission electrical connectors and remove all the brackets, cables, and hoses that connect the automatic transmission to the engine. Upon doing so, locate the starter motor, remove the starter bolts, and pull the starter out of the bell housing. If you choose not to remove the starter completely, use a wire or strong cord to support it.

    Lastly, locate the area where the transmission bell housing bolts to the engine. This typically occurs at the top rear of the engine near the firewall. Once you have located it, remove the bolts connecting the top bell housing to the engine. Keeping all of the removed nuts and bolts in labeled containers and marking the locations of removed brackets or taking a photo prior to disconnecting them will be highly benefic

    Read more
  3. Signs of Problematic Gear Synchronizers

    Gear synchronizers serve an important role in the operation of a vehicle’s manual transmission. They are responsible for facilitating the smooth engagement of gears by adjusting the speed of the shaft so the slider can mesh with the next gear. In doing so, the gears in a manual transmission are able to align quickly and effectively during the shifting process. If there is an issue with your vehicle’s gear synchronizers, it is important to address it immediately to ensure you are able to operate your vehicle safely and prevent further damage. Below, we have listed some of the most common signs of problematic gear synchronizers so you can identify and resolve any issues as soon as possible.

    Strange Noises

    If your gear synchronizers have become worn down or are otherwise damaged, your vehicle’s transmission may start to make strange noises. When there is an issue with a gear synchronizer, you will often hear grinding noises while in a specific gear or while downshifting. However, because there are many potential reasons why your transmission may be making strange noises other than problematic gear synchronizers, it is important to get your vehicle inspected by a mechanic to properly diagnose the cause. 

    Difficulty Shifting Gears

    Because gear synchronizers are responsible for facilitating smooth gear shifts, an obvious consequence of worn or damaged gear synchronizers is difficulty shifting gears. If you have a hard time moving the shift lever from one gear to another, you should get your gear synchronizers checked out. 

    Transmission Gets Stuck in Gear

    In some cases, problematic synchronizers will prevent you from being able to shift gears entirely. More specifically, a stuck synchronizer sleeve could be causing the issue. To identify the root of the issue and resolve it, you will have to tow your car to a mechanic, as it will be unsafe to drive.

    Transmission Jumps Into Neutral

    Another sign

    Read more
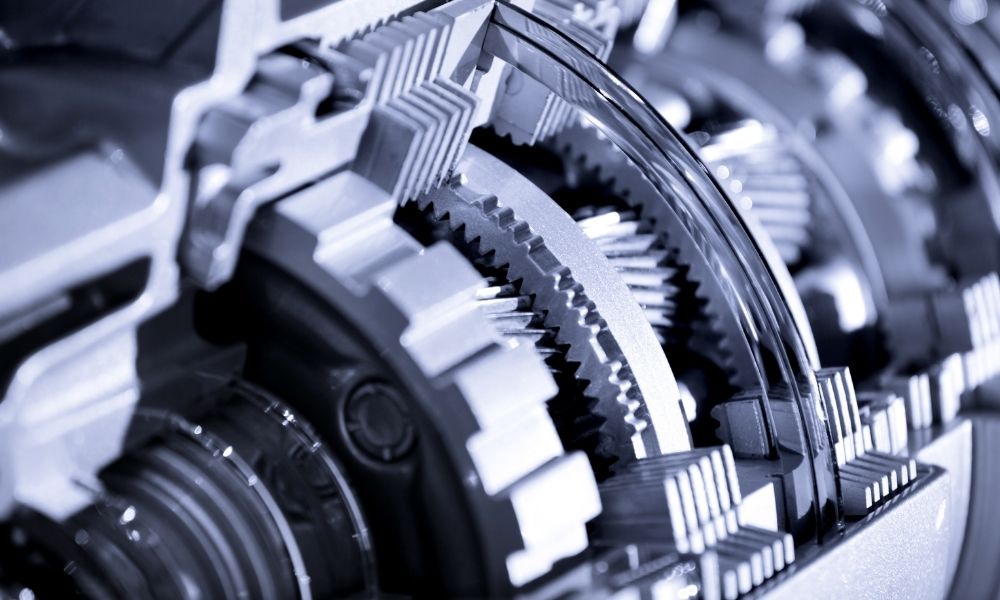
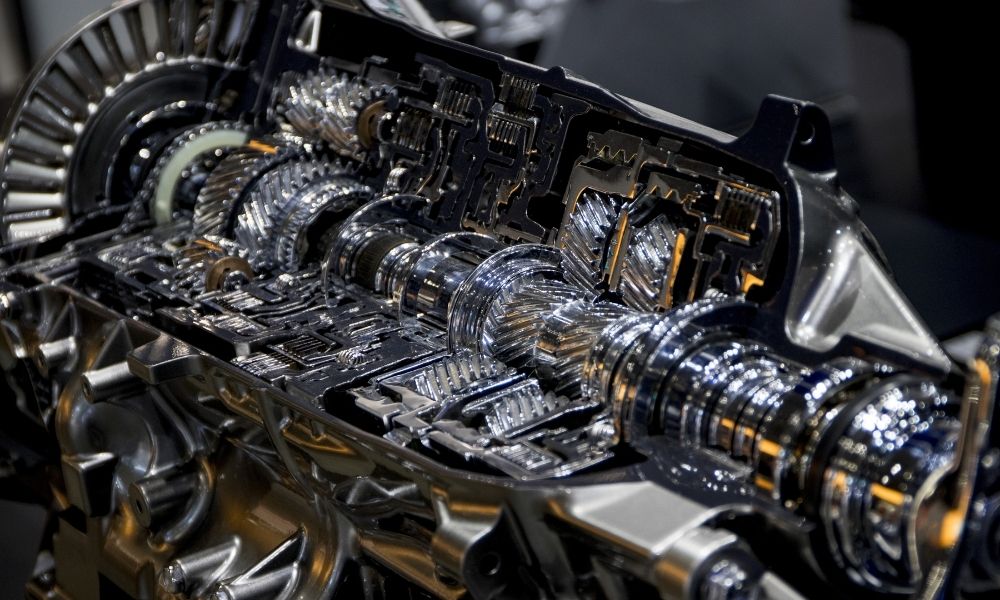
  4. The Basic Components of an Automatic Transmission

    To function properly, an automatic transmission relies on numerous different parts. Here are some of the basic components of an automatic transmission.
    Read more
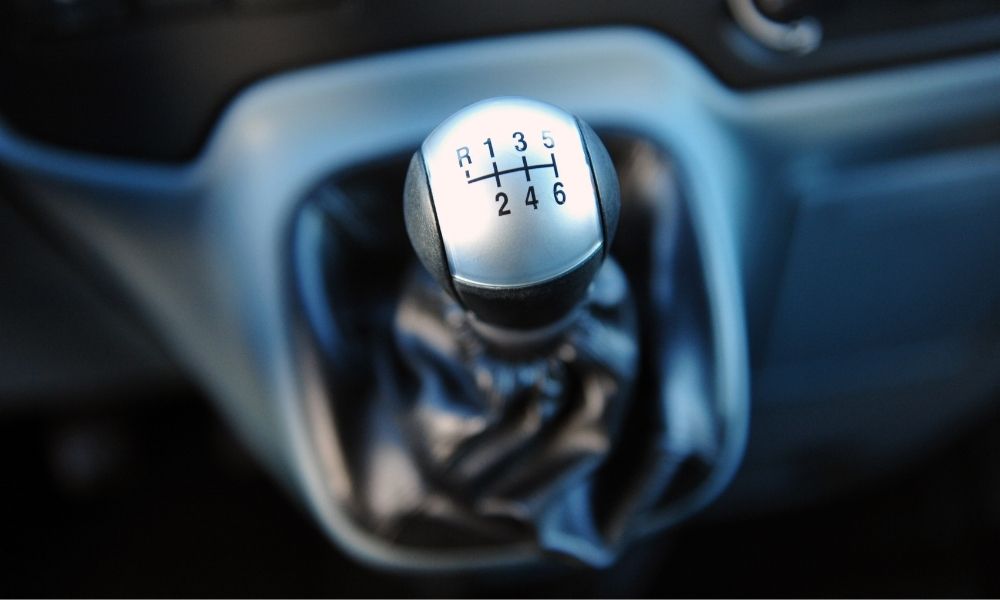
  5. Causes of a Hard-To-Shift Manual Transmission

    Shifting problems are more than just a little frustrating—they are a serious safety threat that can greatly impair your driving ability. Plus, shifting issues are a sign that there could be a serious problem with your vehicle that could become extremely costly and detrimental if left unchecked. As such, it is important to diagnose and resolve any shifting problems as soon as possible. If your manual transmission isn’t shifting properly, here are some potential causes of a hard-to-shift manual transmission to look into.

    Problems With a Clutch System Component

    One of the most common causes of a hard-to-shift manual transmission is a damaged clutch system component. As such, this is the first place that you should look if you start to experience shifting issues. 

    Clutch systems are composed of a variety of different parts, including the clutch master cylinder, release cylinder, clutch disc, clutch cover, release fork, and release bearing. If any one of these components becomes damaged in any way, your vehicle won’t be able to engage or disengage power to the transmission. Thus, you won’t be able to shift gears properly or, in some cases, at all.

    Damaged Gears

    A more obvious reason why your vehicle may be hard to shift is that it has a damaged gear. Manual transmissions consist of several gears, such as the counter gear, hub gear, and reverse gear, as well as the 1st, 2nd, 3rd, 4th, 5th, and even 6th gear. If one of these gears sustains damage or becomes worn down, you will likely have a hard time shifting into them.

    Synchronizer Ring Issues

    The synchronizer ring is responsible for engaging the appropriate vehicle’s gear at the right time. To do so, multi-piece synchronizer rings use a fiber friction material on their inner cone that grips the gear and brings it to the same speed as the output shaft. Over time, the inner friction-lined cone receives the greatest amount of wear. If the fi

    Read more