Automotive enthusiasts know the value of being their vehicle’s personal mechanic. It provides you with a sense of achievement while saving on automotive expenses in the process. If you’ve been yearning for an efficient transfer case and an improved performance, this DIY guide will help you install a transfer case at home.
Arrange Your Working Station
Check that the vehicle is on a flat, stable surface to prevent any movement. Use a hydraulic jack to lift it from the designated lift points—found near the vehicle's frame—until it's high enough for you to work comfortably underneath it.
After lifting, place the jack stands under the chassis for support. Never rely solely on the hydraulic jack to hold the vehicle's weight while working; jack stands will provide stability.
Drain Fluids From the Old Transfer Case
Prevent spills during removal by draining the previous transfer case of all fluids. Start by locating the drain plug on the bottom of the transfer case. Then, place a pan underneath to collect the fluid.
Using the appropriate wrench, carefully remove the drain plug and allow the fluid to drain completely. This process might take a few minutes, depending on the amount of fluid left in the case.
Prepare the New Transfer Case
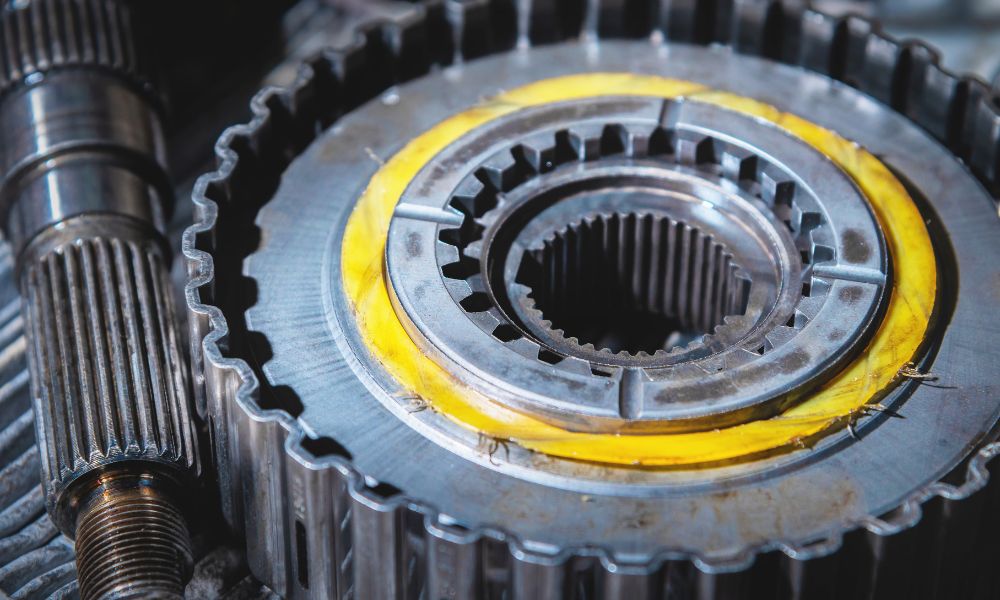
Some of the transfer case parts needed for the project include a high-quality gasket, bolts, and fasteners. The installation process is a little simpler when you start by preparing the transfer case before placing it inside the vehicle.
Apply a new layer of transmission fluid to the seals of the transfer case to promote a better seal and prevent leaks. If you need a new gasket, install it between the transfer case and the transmission first.
Additionally, lubricate any fittings or splines that will engage with the transmission or driveshafts. This preemptive preparation reduces the risk of installation issues and promotes the longevity of the new unit.
Secure the New Transfer Case
It's crucial to precisely align the new transfer case with the transmission, ensuring that the splines or shafts engage properly without forcing them. This supports a seamless connection and avoids potential damage. If available, use a transmission jack to support the weight of the transfer case, allowing for minor adjustments as you align it.
Once in position, start by hand-threading the bolts that secure the transfer case to the transmission to prevent cross-threading. Use a torque wrench to tighten the bolts.
Lastly, reconnect any electrical connections or shift linkages. This part of the step will ensure the transfer case receives the necessary power while driving.
Refill the Transfer Case Fluid
For proper lubrication and cooling properties from the transfer case, don’t forget to refill the fluid. Start by locating the fill plug on the transfer case; it’s typically situated above the drain plug. Remove the fill plug using the appropriate wrench.
Carefully pour the recommended type and amount of fluid into the transfer case until it reaches the desired level. Once filled, reinstall the fill plug. Make sure it's tightened securely to prevent leaks.
Transparts Warehouse is ready to supply you with what you need for a DIY transfer case installation at home. From oil pumps to synchronizers, you’ll find the correct transfer case part designed for your vehicle’s make and model.


