There are many instances when one may want or need to dismantle the transmission in a manual vehicle. For example, perhaps you need to make repairs to the transmission or do a full inspection of its internal components. Whatever the reason, it is important to exercise caution and prepare properly to avoid causing any damage when dismantling a transmission. Because manual transmissions are so complicated and consist of numerous interconnecting parts, the process of taking one apart can be a little intimidating. To make the process a little easier, we have composed this guide on how to take apart a manual transmission.
Remove the Transmission From the Vehicle
Before dismantling a manual transmission, first remove it from the vehicle so that you can work on it properly. To do so, start by disengaging all electrical components connected to the transmission, and remove the large bolts that secure the transmission to the engine block.
Then, remove the rear U joint from the output shaft, and loosen the shift linkages and speedometer cable. Upon doing so, place a transmission jack under the transmission, and remove the support nut, cross-member, and rear support insulator from the rear engine. While using a jack stand to support the vehicle’s engine, use the transmission jack to take out the transmission.
Drain the Transmission Oil
The next step in how to take apart a manual transmission is to drain the transmission oil entirely. Doing so will ensure that the oil doesn’t spill everywhere and make a mess when you start to remove and take apart the other components in the transmission.
To drain the transmission oil, either remove the transmission oil drain plug or carefully take off the entire transmission fluid pan. If you choose to drain the transmission oil, make sure to have a collection pan on hand that is as wide as the transmission fluid pan to collect the oil.
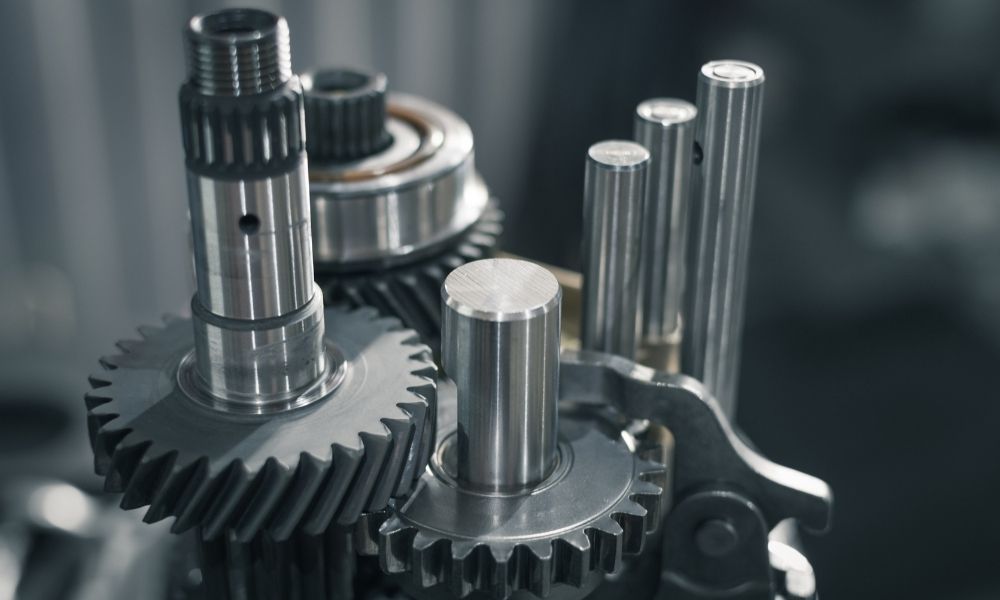
Remove the Transmission Case Cover
Once the transmission oil has properly drained, begin removing the bolts from the transmission case cover. Then, proceed to remove the case cover using a rubber hammer. Doing so will allow you to access the inside of the transmission so that you can start dismantling its internal components.
Remove Larger External Parts
Before tackling the internal components of the transmission, it can be beneficial to get some of the larger external parts out of the way. In most cases, you can remove larger outer parts during the beginning of the transmission dismantling process. For example, you can remove the input bearing collar, tranny mount, and shift linkage.
Once you have removed each of these components, take some time to check them for damage or excessive wear to ensure that they are working properly and won’t cause any issues down the line. If you see any minor scratches, you can typically remove them with an emery cloth. However, if you notice a larger problem, it’s probably a good idea to purchase a completely new replacement part.
Remove Small Parts To Gain Access
To gain access to the many different components of a manual transmission, you will have to remove numerous small parts, such as detent pins, retaining clips, synchro rings, or little springs. When removing such tiny parts, a pencil magnet is a highly useful tool.
The pencil magnet will allow you to easily retrieve these parts from small passages where they can often get stuck in oil, dirt, or sludge. While removing these little parts, it is highly beneficial to take notes on the positions where you removed them from. Doing so will make it much easier to eventually put them back in the right places.
Order of Removal
Below, we have compiled a list of which components to remove in what order for the simplest deconstruction process possible. It is important to note that the exact order of removal may vary depending on the make and model of your vehicle.
- After removing the transmission case cover, remove the spring pin and offset lever.
- Remove the extension housing.
- Using a puller, remove the rear ball bearing and speedometer driven gear.
- Remove the 5/R shift fork spring pin, the 5th gear retainer ring, and 5th counter gear, as well as the counter reverse spacer.
- Take out the thrust washer, and remove the 5th gear, as well as its spring pin, needle bearings, and synchronizer ring.
- Take out the 5/R gear retainer ring, hub assembly, reverse gear, and shift fork.
- Remove the counter reverse gear and its needle bearing.
- Take out the interlock bolt, transmission adapter, gear assembly, and main counter gear assembly.
- Remove the shift rail and shift fork.
- Remove the intermediate taper roller bearing, the ¾ gear retainer ring, the ¾ gear synchronizer hub, the single synchronizer sleeve, and the third gear.
- Remove the reverse gear inner race and main taper roller bearing. Then remove the inner race form first gear and the needle bearing from the shaft.
- Remove the synchronizer inner intermediate cone and outer ring, as well as the ½ gear synchronizer hub and double synchronizer sleeve.
- Take out the synchronizer inner intermediate cone and outer ring.
- Then, remove the 2nd gear and needle bearing.
- Lastly, take out the oil seal from the extension housing.
Check Your Factory Manual for Detailed Procedures
When dismantling your manual transmission, your vehicle’s factory manual will be one of your most valuable resources. It can walk you through special steps you’ll need to know when taking apart your manual transmission. In certain cases, components of the manual transmission will need to be oriented in a certain position for you to remove them. It is important not to try to force such parts out. Most of the components aside from bearings won’t require much force to remove.
If a part is difficult to remove, check your factory manual for a detailed procedure for how to properly orient the part for its removal. If your factory manual doesn’t include a detailed process on how to remove the part, try rotating it into different positions, and check for the presence of retaining rings or pins, which you may need to take out first.
Transparts Warehouse is a top provider of replacement standard transmission parts. If you notice that one or more of your transmission’s components are worn or damaged while deconstructing the system, we can supply you with the replacement part you need to get your transmission working as good as new again. Our extensive inventory includes new and used standard transmission parts from top brands such as Raybestos, Transgo, Alto Products, Sonna, and more. In addition to providing high-quality parts, we are also committed to providing exceptional customer service. If you have any questions about how to take apart a manual transmission and to place an order, our dedicated sales team is here to supply the assistance and attention you require. For more information regarding our standard transmission replacement parts, contact us today.


