Automatic cars use transmission coolers because they generate substantial heat during operation. Vehicles used for towing are especially at risk of overheating and damage.
A transmission cooler expels excessive heat, so the transmission fluid remains at an optimal temperature. This quick DIY installation guide will show you how to add a transmission cooler yourself!
Step 1: Identify the Transmission Cooler’s Placement
The ideal location for the transmission cooler is in front of the radiator and the A/C condenser in most automatic vehicles. Here, the cooler gets maximum airflow due to incoming air while driving. This strategic placement offers an efficient solution to dissipate heat from the engine.
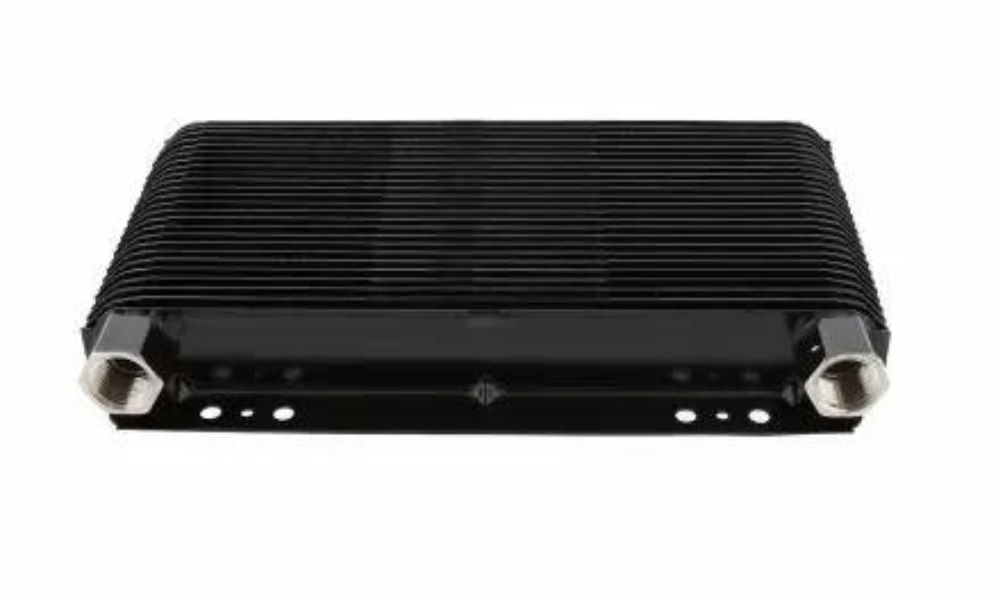
Step 2: Mount the Cooler
Start by securing the transmission cooler with mounting brackets. Hold it up to the location and use a marker to establish the points where you’ll attach the mounting brackets. Then, drill holes at the marked points.
Next, fasten the brackets to the cooler. Most coolers use a sandwich-type installation where you can directly mount the cooler to the radiator or A/C condenser with long bolts. Ensure you securely fasten the cooler to avoid detrimental vibrations while driving.
Mount your remote cooler to an appropriate spot on the vehicle’s frame or body. Finally, double-check to ensure you securely mounted the cooler with sufficient clearance from other components. You should position it in a way that allows maximum exposure to airflow for efficient cooling.
Step 3: Install the Lines
The lines will carry the transmission fluid from the transmission to the cooler and back. Start by identifying the transmission’s fluid lines. You’ll find two types of fluid lines—the “out” line, which carries hot transmission fluid from the transmission to the cooler, and the “return” line, which carries cooled fluid back to the transmission.
Next, cut the “out” line. You can usually find this line at the bottom of the radiator. You must disconnect this line from the radiator and attach a rubber hose, using a hose clamp. Doing so will direct the fluid to the cooler.
Now, attach another hose to the other side of the cooler. This secondary hose will be the “return” hose. Secure the hose on the cooler using a hose clamp, then attach the other end of the hose to the “return” line on the transmission. Use another hose clamp to secure this connection.
Step 4: Verify Proper Installation
Trans oil coolers are effective when you install them correctly. The best way to guarantee this is to double-check all hose connections for any leaks. You can do this by starting the vehicle and letting it idle for a few minutes.
Look for any signs of fluid leakage at all connection points. Turn off the vehicle immediately if you find any leaks, tighten the connections or replace the hoses, and repeat the process until you don’t detect any leaks.
Adding a transmission cooler using this DIY installation guide is a great way to make your vehicle’s transmission more efficient! Although it may seem complex, it’s rather simple when you take your time. Soon enough, you’ll reap the benefits of this addition.


